Getting started
Follow the simple steps below to set up your email signature in the older version of Outlook. This will ensure that your signature automatically updates whenever user data or the template changes.
If you are using older versions of Outlook desktop (you can determine this by seeing if you have a ‘File’ tab on the left side of your toolbar in Outlook), follow the instructions below.
Step-by-step user guide to set up email signature with AdSigner Agent:
-
Open the email you received in your inbox from noreply@adsigner.com.
-
Click on “Go to my signature.”
-
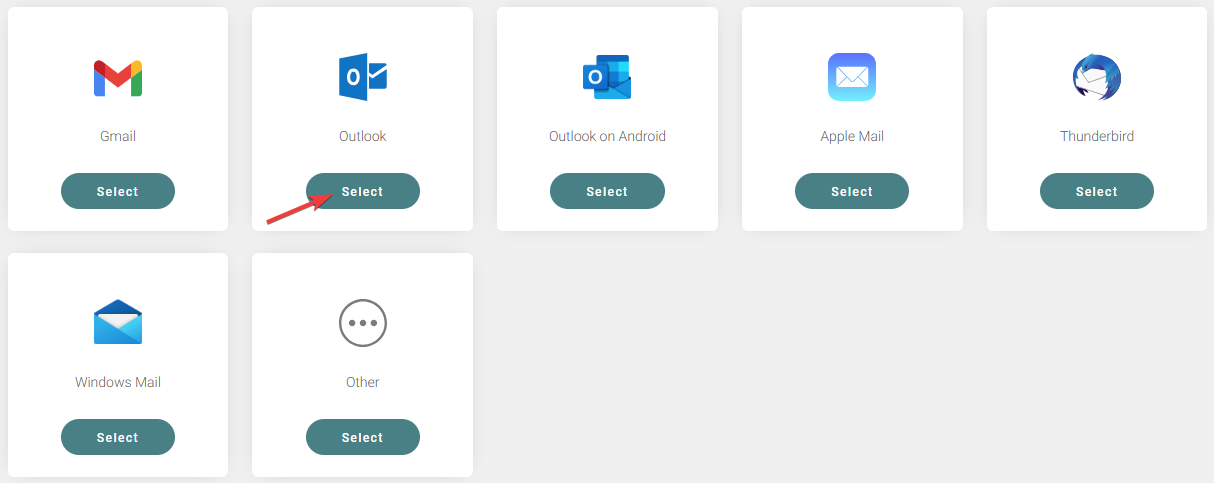
Your email signature will appear with a list of icons for different email clients.
-
Click on the first Outlook option.
-
Wait a few seconds for the AdSigner Agent green button to appear on top.
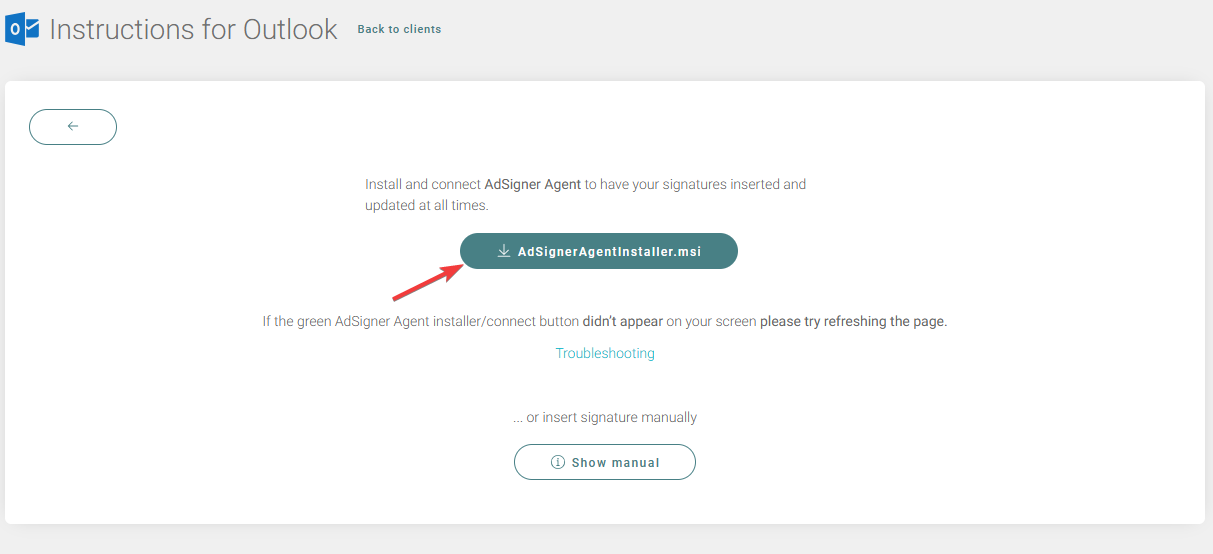 If the green AdSigner Agent installer button didn’t appear on your screen
a) Please try refreshing this page. If you have a ‘File’ tab on the left side of your toolbar in Outlook dashboard, please follow the instructions here.
b) If you don’t see ‘File’ tab on the left side of your toolbar in Outlook dashboard, it means you are using one of new version of Outlook and please follow these steps here.
-
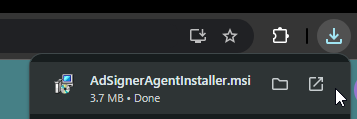
Double click on the AdSigner Agent to start the AdSigner Agent installer. AdSigner Agent will install and automatically synchronize your signatures.
-
You can now set the AdSigner signature as the default for new messages and replies/forwards.
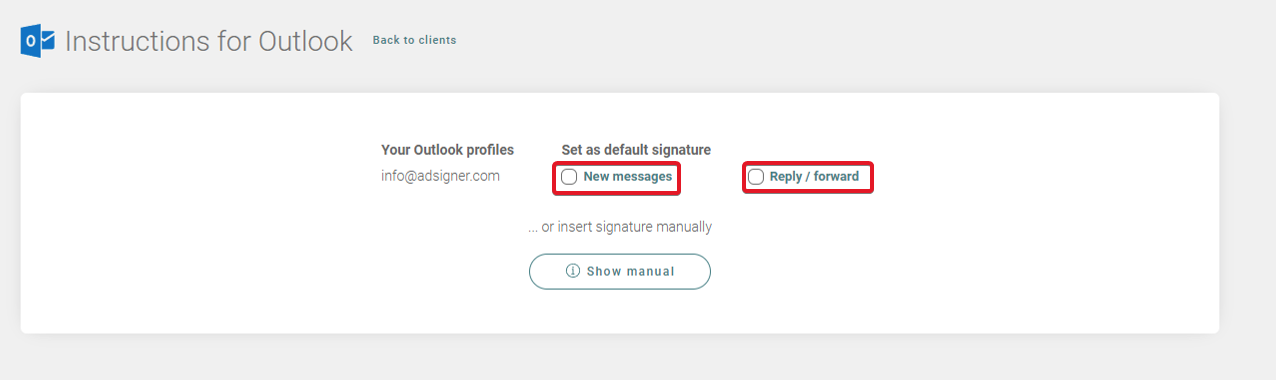
Restart Outlook, and your email signature should be present in newly composed emails.
If you have any questions of need a support please contact us on chat or support@adsigner.com.

