How to use image editor

The image editor lets you edit all kinds of image elements that you upload to AdSigner and view in the Images section. You can resize, crop, rotate, add a filter, or rounded edges. Prepare them so that they represent you and your company best as they can in your email signature.
ProTip: You can also learn about editing images with AdSigner Image Editor in a short video tutorial.
Step 1
Access Image Editor by:
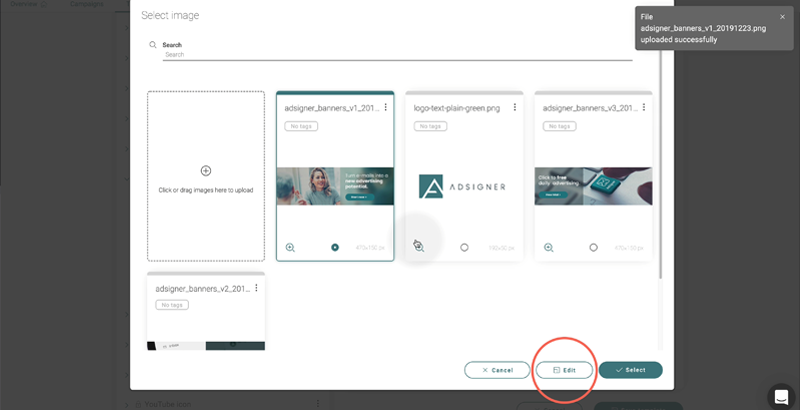
- clicking on the Edit button when selecting an image,

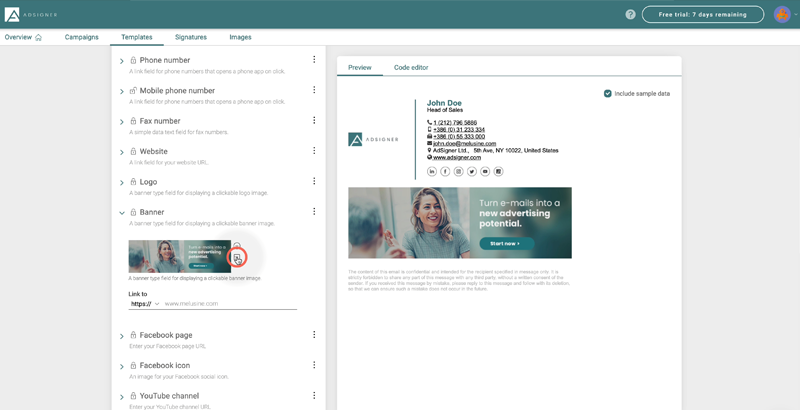
- clicking on the Crop button near the image when editing your template or signature,

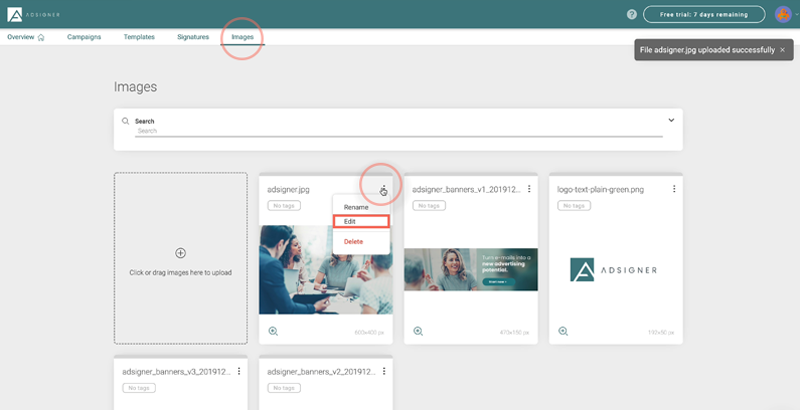
- using the Edit option when viewing all uploaded images in Images.

The image editor will open.
Step 2
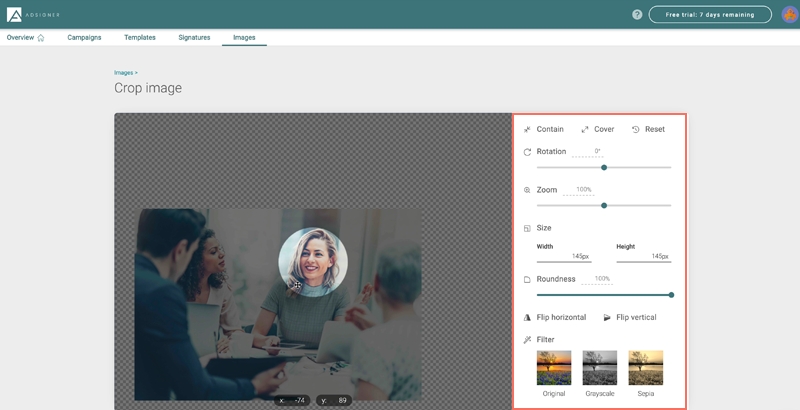
- You can change the size of your picture by entering new values of width and height.
- Option Contain will resize your image so it fits the canvas.
- Option Cover will resize the image so it fills up the canvas.
- You can rotate the picture by moving the slider or typing the value.
- The same goes for the Zoom option.
- The Roundness tool works the same way.
- To reset changes, use the Reset button.
- You can also flip your images horizontally and vertically.
- Recolor your artwork by choosing different Filters.
When you are done, finish by clicking on the Save cropped button. Your image will be saved as a copy.

Your image editing is done. Now that it’s perfect, use it as your avatar image, business logo, or banner. With each email you send, you will announce to your existing interlocutors something added, different or new to your business. What is the easiest way to impress existing customers with whom you already have well-established business communication and trust?
For more tips like this, subscribe to our YouTube channel and follow AdSigner on Facebook, Twitter and LinkedIn.


