How to run a campaign?
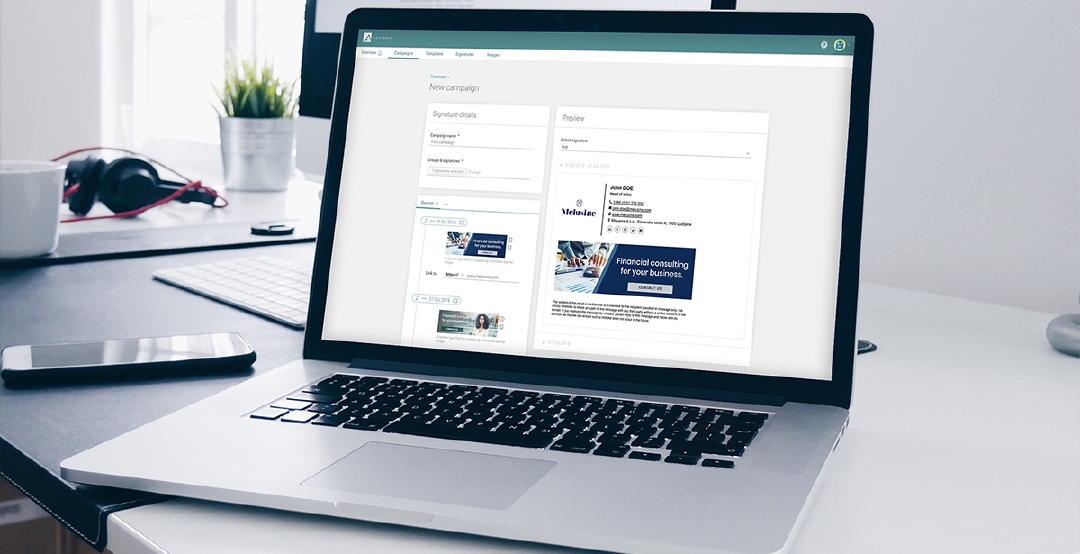
Ad campaigns added to the email signature are a new marketing channel being revealed by AdSigner. Thus you add some meaningful sales potential to each ordinary email, in a genuine tone of daily communication. Through the banner ads that automatically change over time, remind your interlocutors what else your business has to offer. Sell, upsell and cross-sell. Create desire and needs spontaneously. Let your advertisement be a welcome added value of each email message for you and your customers.
Once you’ve set up email signatures with AdSigner, you can easily run advertising campaigns.
ProTip: Find out how to set up your professional email signature easily.
Step 1
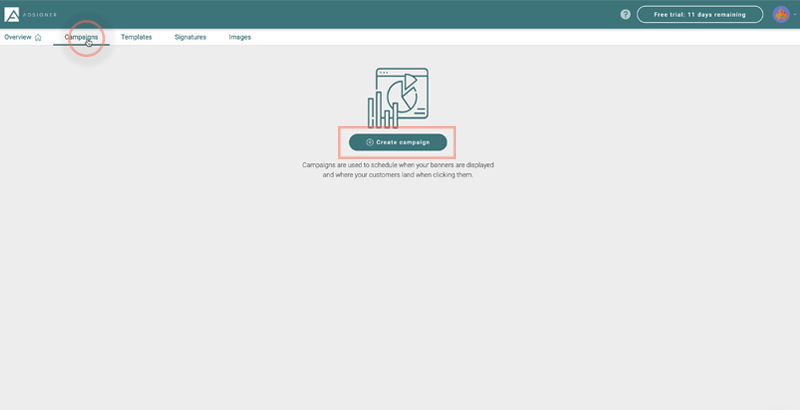
Start by choosing Campaigns in the main menu bar and click the Create Campaign button.
Step 2:
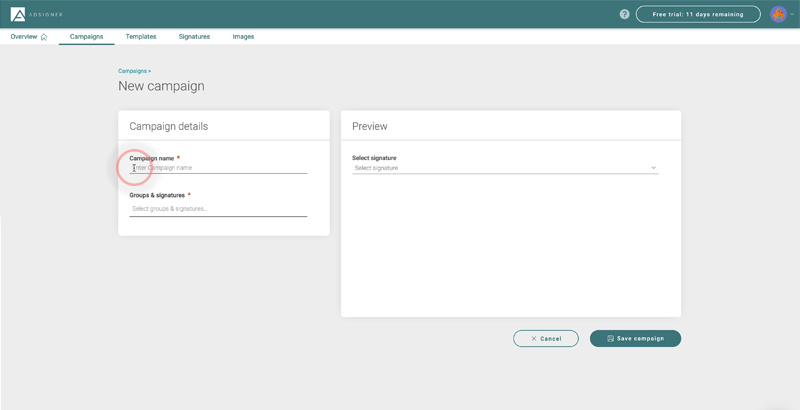
Enter a campaign name.
Step 3:
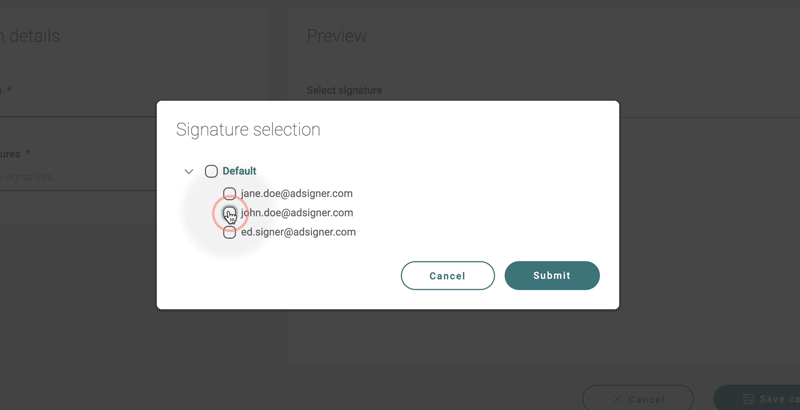
Select signatures or entire groups of signatures, which will be affected by the campaign. Click on Groups and signatures and use the checkbox to select them. This enables you to target the same campaign to a specific group of signatures easily and to run various campaigns among different groups of users at the same time. By default, your campaign will apply to all signatures in your organization. When you’re done, click Submit.
Step 4:
Set up a schedule for the banner field.
Selected images will be displayed in chosen signatures as their banner during the selected interval. You can leave the end date empty in order for your campaign to be indefinite. If you do so, any campaign created later will overwrite previous ones during its interval. When finished, the indefinite campaign will be active again.
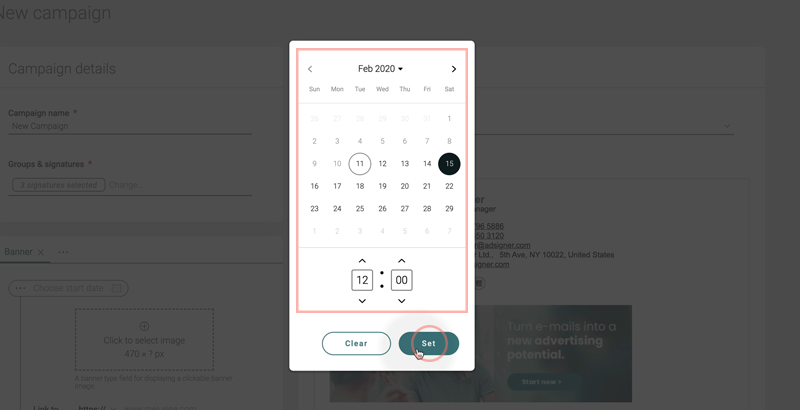
Click on the Choose start date. Choose on what date and time your campaign will start. Confirm by clicking Set.
Step 5:
Select an image to be used as a banner. Image will be contained and compressed to fit the template.
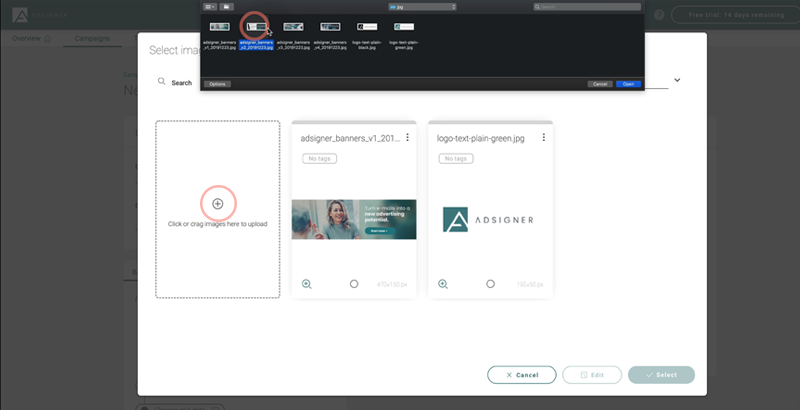
You can use the AdSigner image editor if needed. Just click on the crop icon.
If you want to remove the chosen picture, click on the icon on its upper right corner.
It is very important to set the destination URL of the website that a visitor is redirected to when clicking on the banner.
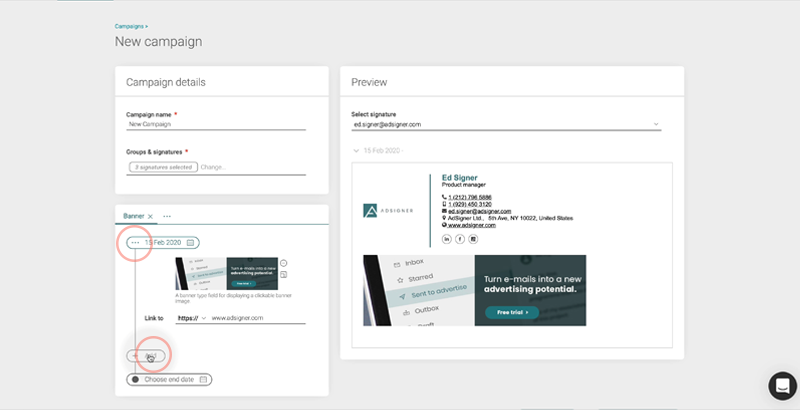
We successfully added one banner to our campaign. Click add and repeat previous steps for another banner.
ProTip: Take a few minutes and learn some tips towards an engaging and attractive ad banner content. If you need additional assistance with the banner ad design AdSigner team is also here to help you create remarkable promo banners. Contact us.
By clicking on three dots you can choose between some additional options like insert new before or after or remove.
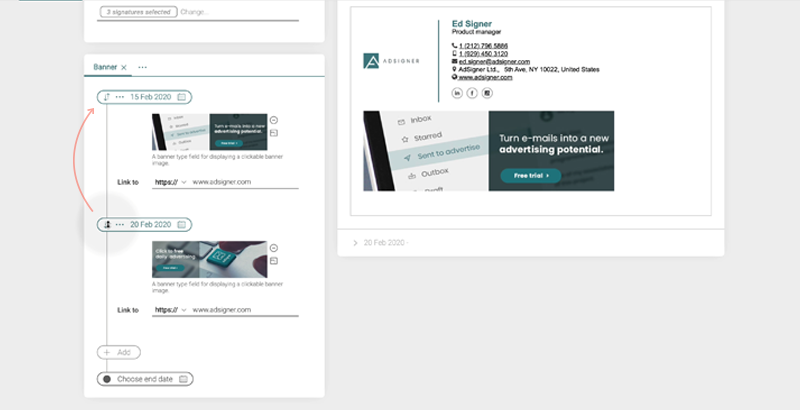
When you want to change banner order, use the drag and drop option. Hold the date on the arrow icon and drag it to a new spot, then drop it. Now just set new dates.
Press Set when you are done.
Step 6:
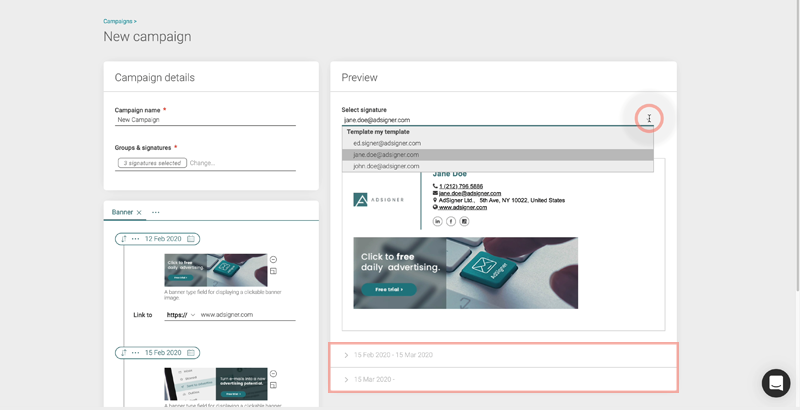
Check how an individual signature will look like during the campaign. Click on the arrow down to open the dropdown menu. Select the signature you want to inspect.
By clicking on the accordion below, the signature preview will appear.
Once you are satisfied with your campaign setting, click the Save campaign button.
From this moment on AdSigner will automatically take care for the daily business advertising of your products, services and overall branding.


